After setting up a GitHub account in Xcode, you can access GitHub repositories directly from Xcode.
This article explains how to set up a GitHub account in Xcode.
Generate the access token
To access GitHub with Xcode, you’ll need an access token. Follow these steps to generate one.
(1) Open GitHub and sign in.
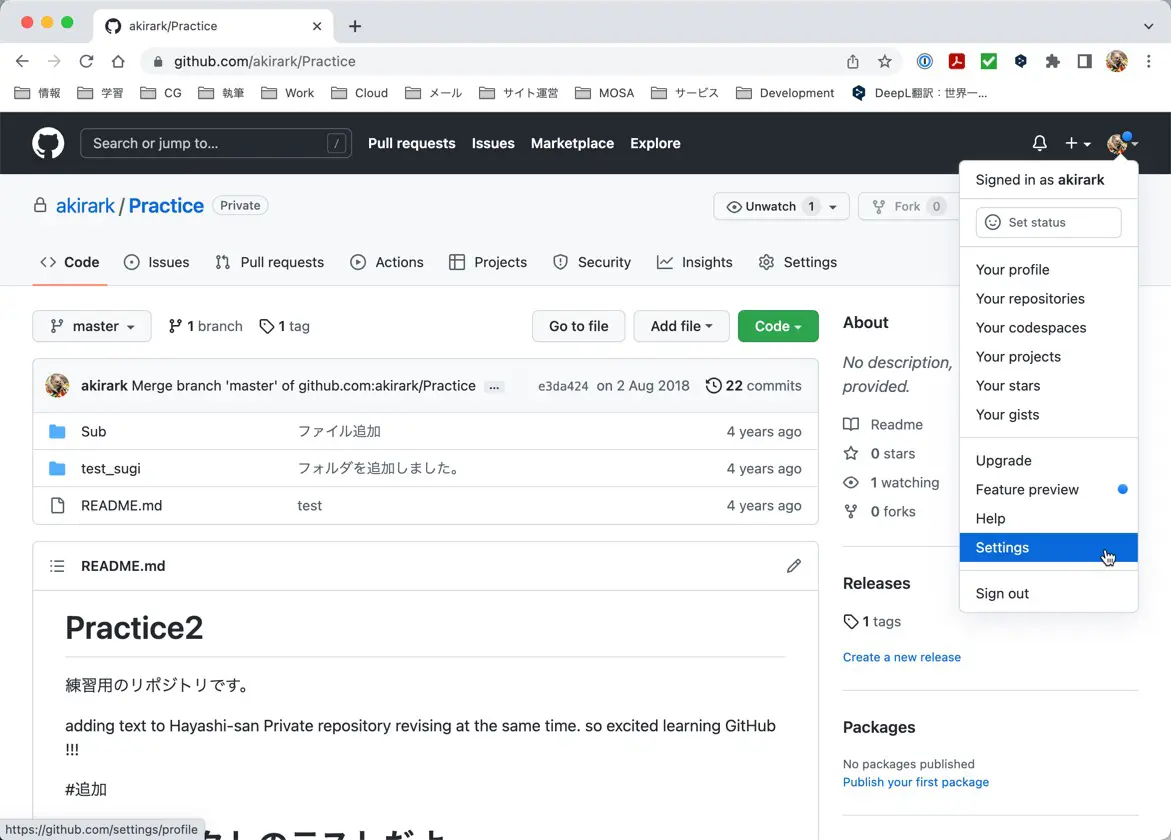
(2) Click the account icon in the upper right corner and open “Settings”.
(3) Open “Developer settings” in Settings.

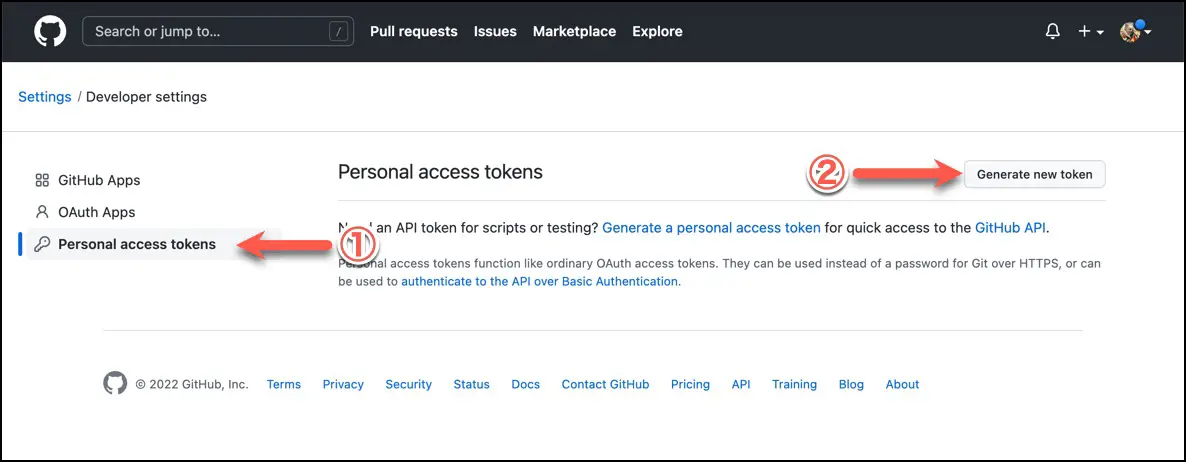
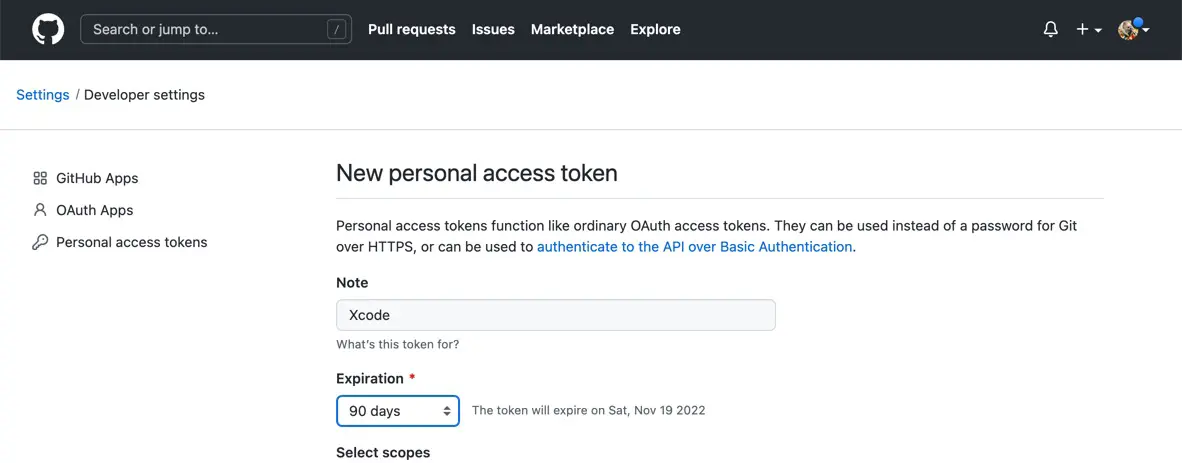
(4) Open “Personal access tokens” and click “Generate new token”.
(5) Enter a name in “Note” such as “Xcode” that identifies the location of use, and set an expiration date in “Expiration”.
I set the expiration to “90 days”. If you choose “No expiration”, the token will have no set expiry date. For security reasons, it is better to put an expiration date than an indefinite period.
(6) In the “Select scopes” section, define the operations this access token will be allowed to perform.
Xcode uses this access token, so this operation is allowed from Xcode.
In my case, I checked the following items.
admin:public_keywrite:discussionrepouserproject
All of these items except project are required by Xcode. Therefore, include the four items other than project.
(7) Click on “Generate token.
(8) The generated access token will be displayed, copy and save it.
The access token cannot be displayed again. If you lose it, you’ll need to generate a new token.
Sign in with Xcode
Sign in with Xcode. Operate as follows.
(1) In Xcode, select “Preferences…” from the “Xcode” menu.
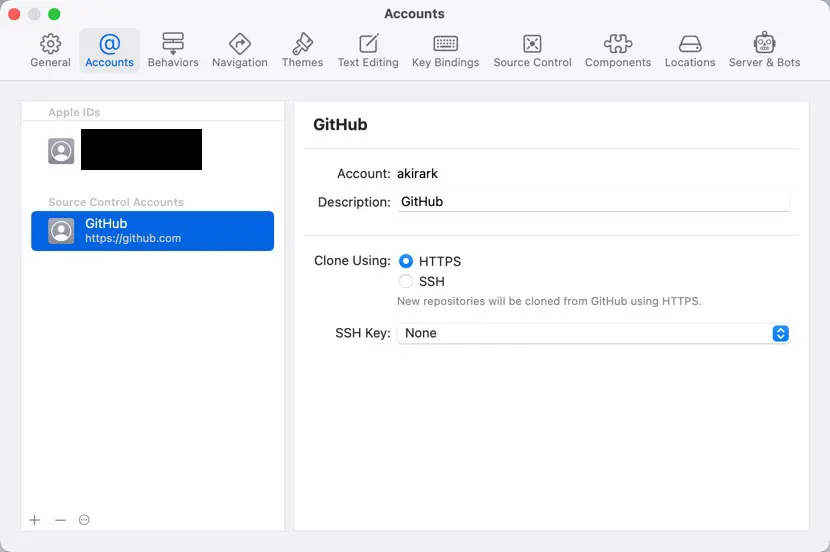
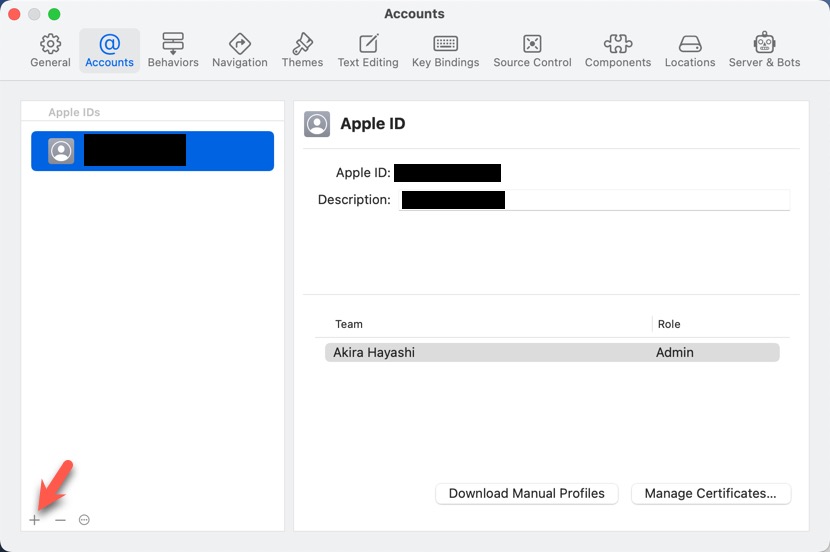
(2) Open the “Accounts” tab.
(3) Click on the “+” button in the lower-left corner of the account list.
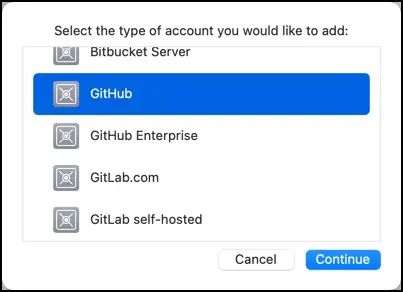
(4) Select “GitHub” on the sheet to select the account type and click the “Continue” button.
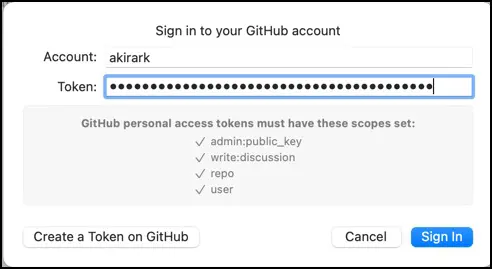
(5) Enter your account and the access token you generated, then click the “Sign In” button.
(6) Return to the “Accounts” tab. If successful, the GitHub account will be added to your account list.