This article describing how to use CLion to develop with Swift on the Ubuntu Linux.
Setup Swift
Install the clang
Swift uses the clang, so we have to install clang first. You should run following command.
$ sudo apt-get install clang
Install the swift toolchains
Downloads the swift toolchains from the download page:
Download Swift
Moves extracted directory to the anywhere you want. I moved it to “/opt” directory. The directory path is now “/opt/swift-3.0.2-RELEASE-ubuntu-16.04”. I think it is complex, so I create the symbolic link at “/opt/swift”. It link to the above directory. The contents of the “/opt” directory had been to following:
lrwxrwxrwx 1 root root 31 2月 5 12:24 swift -> swift-3.0.2-RELEASE-ubuntu-16.04

drwxrwxrwx 3 akira akira 4096 2月 5 12:15 swift-3.0.2-RELEASE-ubuntu-16.04
Adds the “/opt/swift/bin” to the “PATH” environment variable.
export PATH=/opt/swift/usr/bin:"$PATH"
You can verify that installed successfully, run the following command.
$ swift --version
On my machine, the swift program outputs following.
Swift version 3.0.2 (swift-3.0.2-RELEASE)

Target: x86_64-unknown-linux-gnu
“Hello World!” with command line
Create the “hello.swift” file with following contents:
print("Hello World!")
The swift toolchains has a interactive shell, “REPL”. You can executes above code with REPL by running following command. (“hello.swift” file is in the current directory)
$ swift hello.swift
REPL prints the following line.
Hello World!
Run following command to compile the code and build the executable.
$ swiftc hello.swift -o hello
The swiftc write the “hello” file which is executable. “hello” will print the “Hello World!”.
Setup CLion
The CLion is an IDE for the C/C++. The supported systems are macOS, Windows and Linux. On December 6, 2016, the swift plugin for the CLion was updated. This plugin adds the swift support to the CLion, and this version supports Swift 3.
Install
The CLion uses cmake, so we have to install cmake. Run the following command to install it.
$ sudo apt-get install cmake
Install CLion
The CLion is not free but free 30-day trial is available. For the detail, see the web site:
JetBrains CLion
Extract the downloaded archive. Move the extracted directory to the anywhere you want. I moved it to the “/opt” directory.
Run the following command to launch the CLion.
$ /opt/clion-2016.3.2/bin/clion.sh
The setup wizard will be displayed. In this wizard, you can install the Swift support plugin. Follow to the wizard.
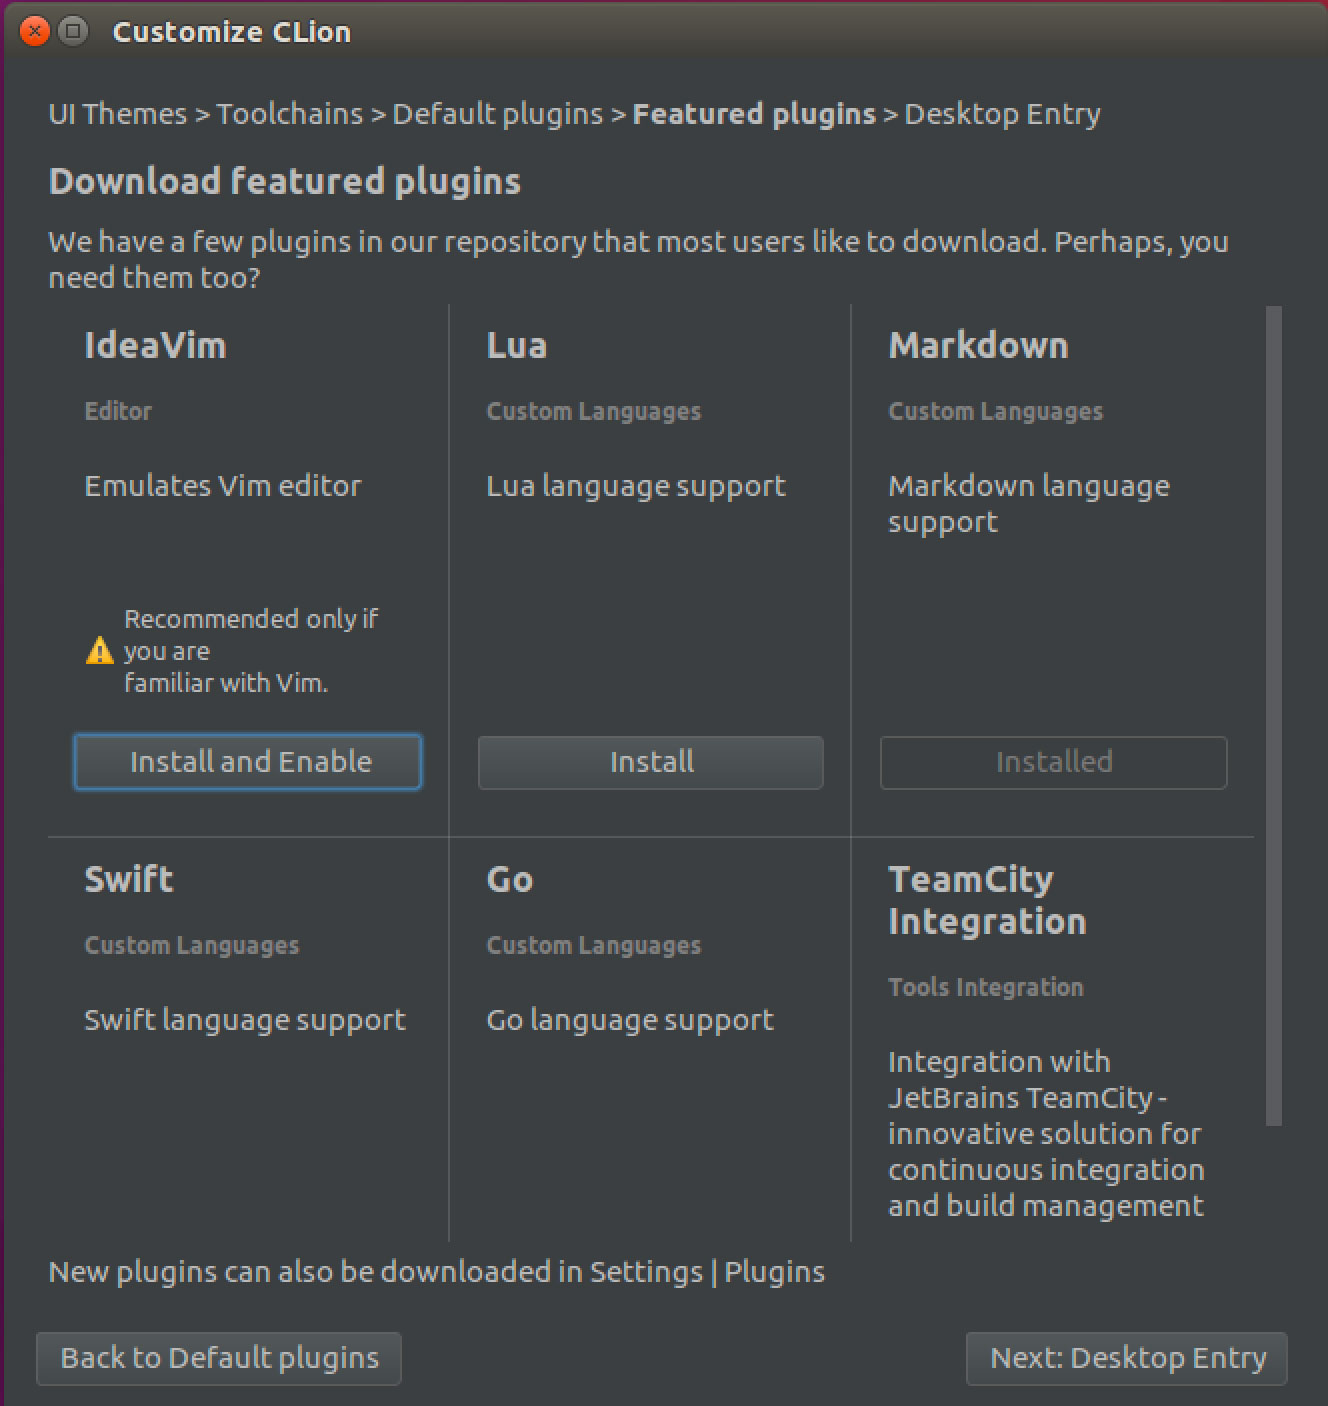
Install plugins
Configure the CLion
You have to set the swift toolchains path to the CLion. Open the settings dialog, select the “Swift” under the “Build, Executable, Deployment” item. Enter the path to the swift toolchains top directory. For example, in my environment, this value is “/opt/swift”.
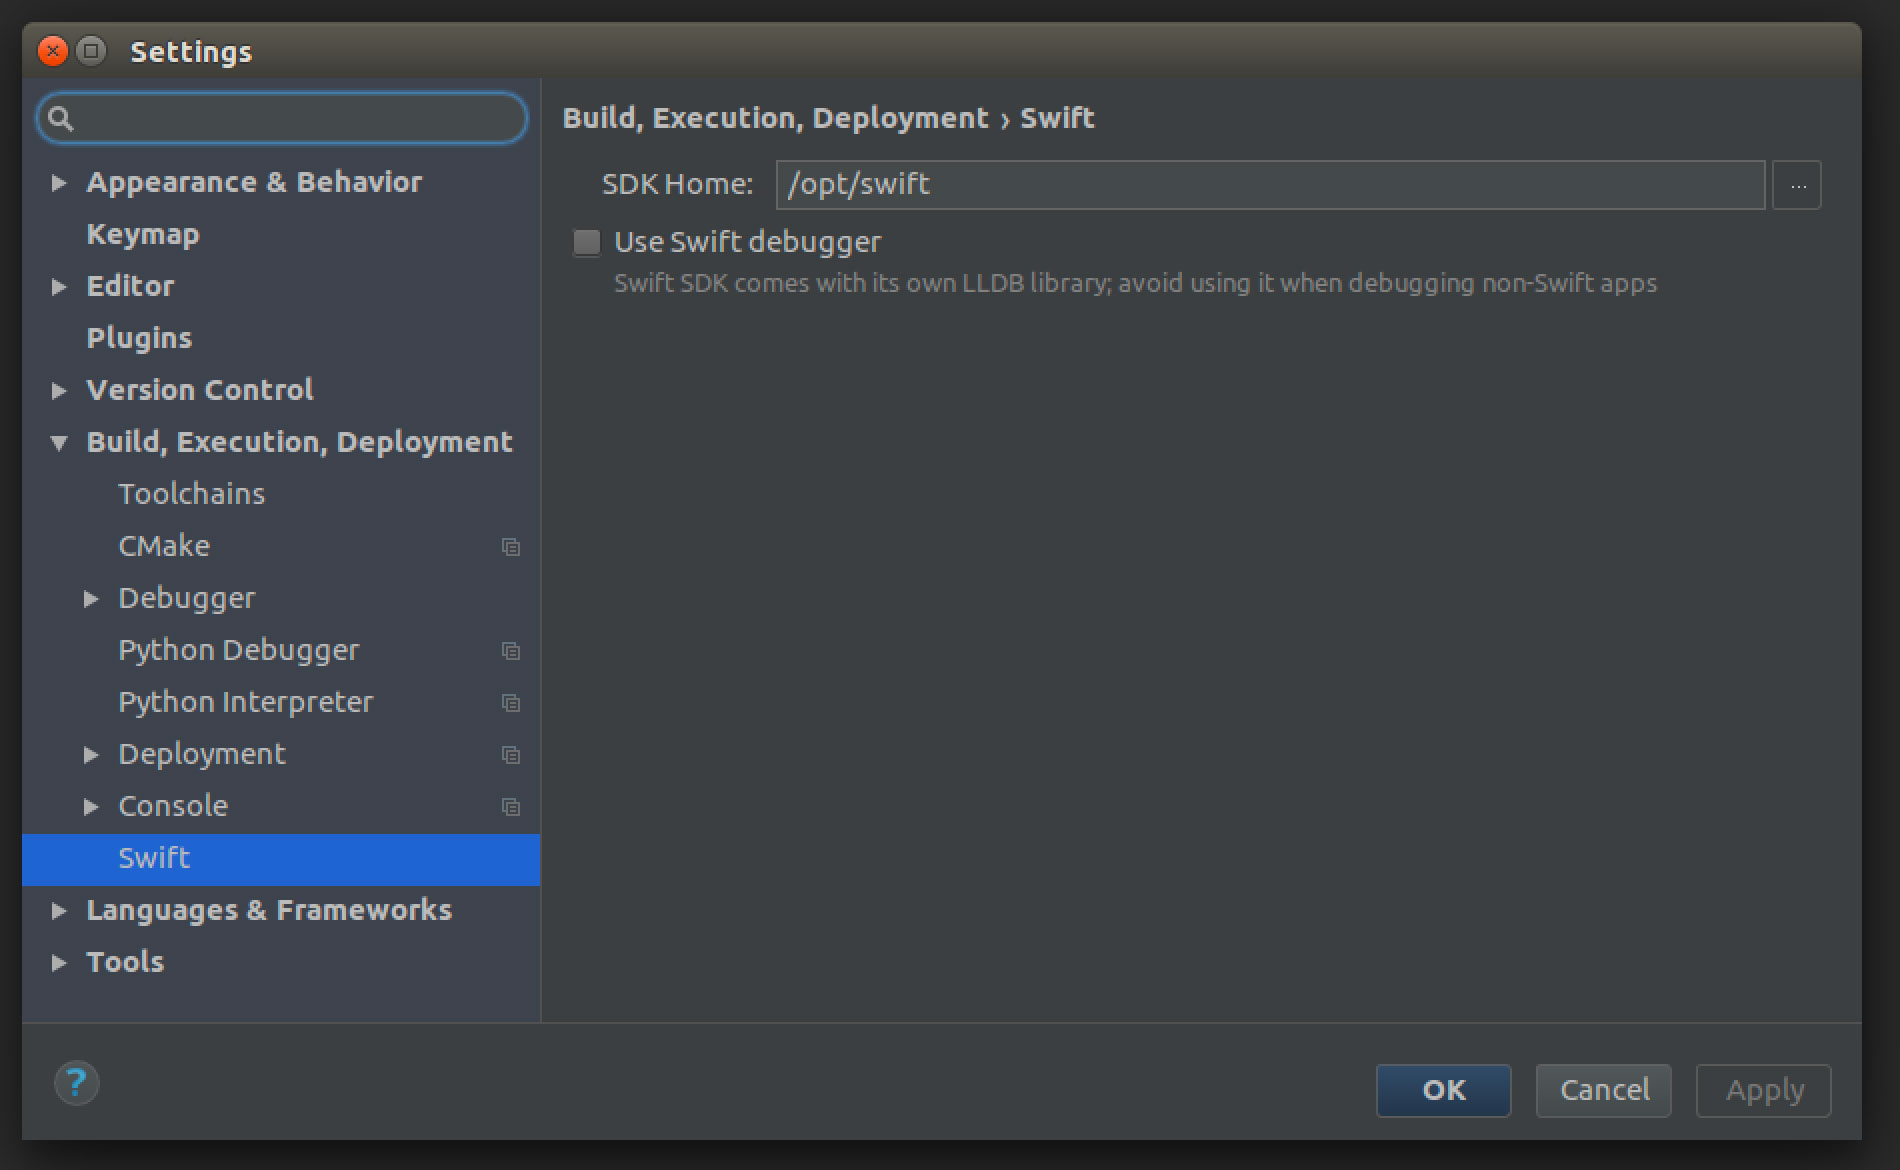
Configuration Dialog
“Hello World!” with the CLion
To build with CLion, we have to create the executable package and CMake project file.
(1) Create the working directory. We can use the SwiftPM (Swift Package Manager), run the following command.
$ mkdir HelloWorld

$ cd HelloWorld

$ swift package init --type executable
(2) Create the CMake project file. Create the “CMakeLists.txt” file in the “HelloWorld” directory, and make the contents to be following:
cmake_minimum_required(VERSION 3.4)

project(HelloWorld)
add_custom_target(HelloWorld
COMMAND /opt/swift/usr/bin/swift build
WORKING_DIRECTORY ${CMAKE_SOURCE_DIR}
SOURCES Package.swift Sources/main.swift)
(3) Open the “CMakeLists.txt” file as a project with the CLion.
(4) Select “Build” from the “Run” menu. The “.build/debug/HelloWorld” executable file will be created.
(5) Select the “Run…” from the “Run” menu.
(6) In the build configuration dialog, change the active target to “HelloWorld”.
(7) Select “Select other” from the “Executable” popup.
(8) The “HelloWorld” is in the hidden directory, so we have to enter the directory path into the path field.
(9) Click “OK” to close the build configuration dialog.
(10) Now, we can run the HelloWorld from the CLion.