While developing an app supporting Basic Authentication for HTTP connections, I required a test environment with a web server utilizing HTTP Basic Authentication.
I created a restricted page using Docker-containerized Nginx.
Follow the three steps below to authenticate using Basic Authentication.
- Create the web server.
- Upload the password file.
- Configure the restricted URL.
Step 1: Create the Web Server
Create the web server. We can use Nginx, which is containerized with Docker. For how to containerize Nginx with Docker, see the following article.

The configuration file needs customization. Copy the nginx.conf and default.conf files from the container to the directory containing the Dockerfile. For your reference, see the following article.
Create the content-home/autharea/index.html file to make a restricted URL to http://localhost:8080/autharea. The file’s contents are the following because we only want to check if the page is acceptable.
<!DOCTYPE html>
<html lang="ja">
<head>
	<meta charset="utf-8" />
	<title>Authorized Area</title>
</head>
<body>
	<p>Here is an Authorized Area.</p>
</body>
</html>
Step2: Upload the Password File
The password file is necessary for implementing HTTP Basic Authentication restrictions. It contains account information. Create the password file generator script and copy it on Docker image building.
About the Password File
The password file is a plain text file. Each line is an account. Write an account in the following form, and save it at the path /etc/nginx/.htpasswd.
UserName:Password
The password should not be a plain string but a hash. The openssl can generate it.
% openssl passwd -crypt Password
The Password File Generator Script
Create the generator script. Place the gen_htpasswd file into the directory containing the Dockerfile and input the following script.
#!/bin/bash

USER_NAME=testuser
PASSWD=testpasss
CRYPTPASS=`openssl passwd -crypt ${PASSWD}`

echo "${USER_NAME}:${CRYPTPASS}" >> /etc/nginx/.htpasswd
This script creates an account named testuser with the password testpass.
Execute the Generator Script
Configure the settings to execute the generator script during the Docker image build process. Input the following script into the Dockerfile created in Step 1.
FROM nginx:1.23

COPY nginx.conf /etc/nginx
COPY default.conf /etc/nginx/conf.d
COPY gen_htpasswd /etc/nginx

RUN apt update
RUN apt install -y openssl

RUN /etc/nginx/gen_htpasswd
The additional script is the following.
COPY gen_htpasswd /etc/nginx

RUN apt update
RUN apt install -y openssl

RUN /etc/nginx/gen_htpasswd
The steps performed by this script are as follows.
- Copy the
gen_htpasswdfile into the/etc/nginxdirectory. - Install
opensslwithapt. - Execute the
gen_htpasswdscript.
Step 3: Configure the Restricted URL
Specify the URL that HTTP Basic Authentication restricts. Insert location /autharea after location / in the default.conf file, created in Step 1.
server {
# Omission

    location / {
        root   /usr/share/nginx/html;
        index  index.html index.htm;
    }

    location /autharea {
    	root	/usr/share/nginx/html;
    	index	index.html index.htm;
    	auth_basic	"Restricted";
    	auth_basic_user_file	/etc/nginx/.htpasswd;
    }

# Omission
}
The /autharea is a restricted URL. In this case, the following URL is restricted.
http://localhost:8080/autharea
For example, if you change /autharea to /member, the restricted URL will follow.
http://localhost:8080/member
Test
Let’s test by running the container. The docker-compose command builds this image.
% docker-compose build
Run the container.
% docker-compose up -d
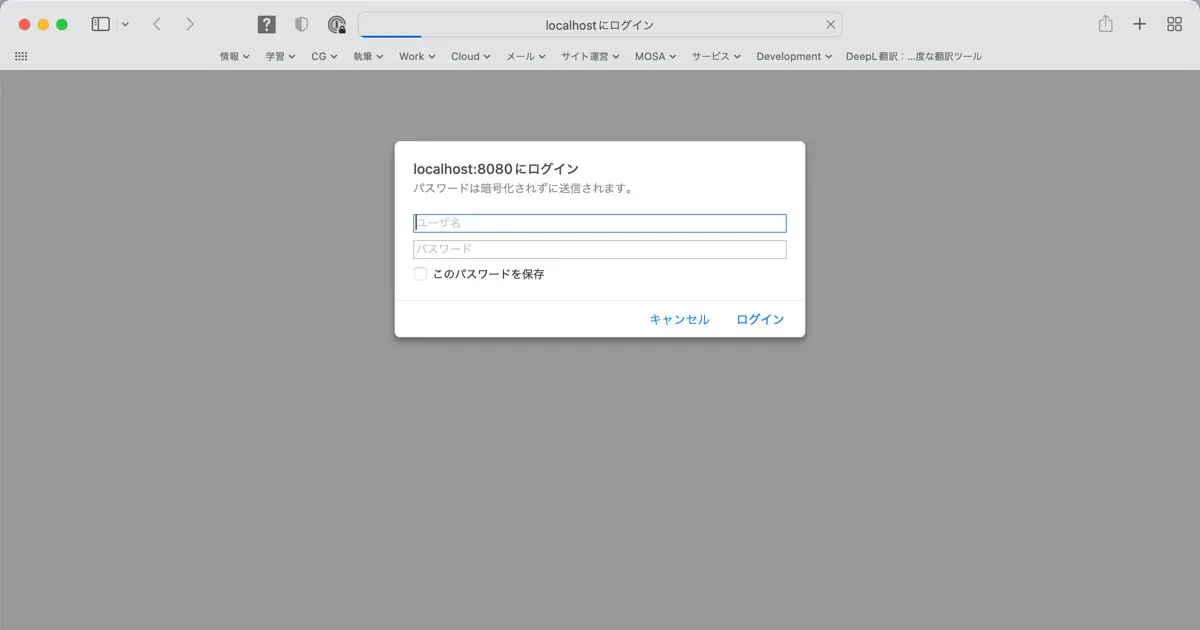
Open http://localhost:8080/autharea/ in your web browser. It will display the authentication dialog.
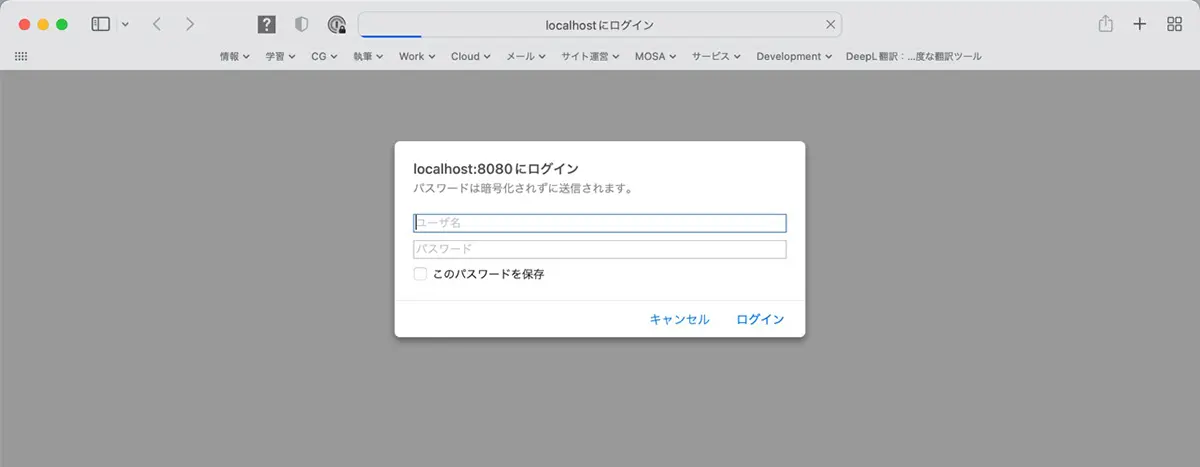
Input an invalid account and confirm that the authentication is denied. Next, enter the valid account and confirm that the authentication is authorized.