The Xcode 13.4.1 on macOS Monterery 12.4 can use only WindowGroup and DocumentGroup to implement the window generation in SwiftUI, so we can’t create the single window application. You can’t implement the all of the items in the menu bar with only SwiftUI.
In the future, all of this will be resolved I think. You will be able to implement them with only SwiftUI, but this time (July 10, 2022), you need to implement them with the AppKit.
This article explains that how to add the SwiftUI view into the AppKit window.
Xcode Project Template
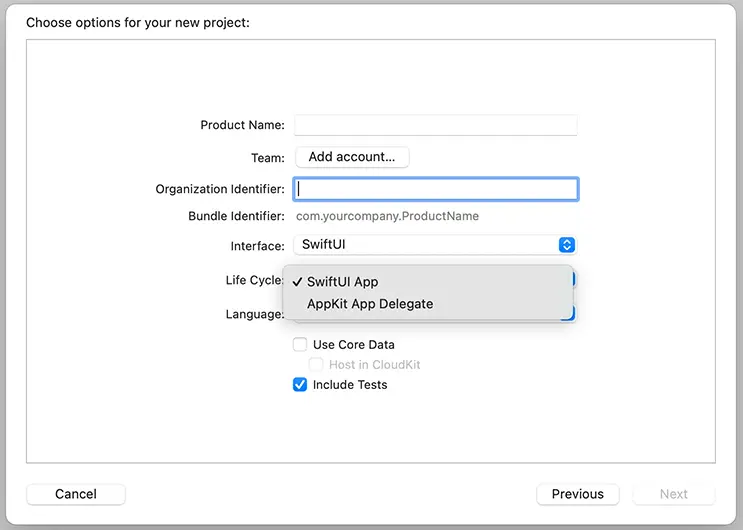
Since macOS Big Sur 11, You can use @main in the SwiftUI application, and in Xcode 12, You could select the SwiftUI from the Interface, and SwiftUI App or AppKit App Delegate from the Life Cycle.
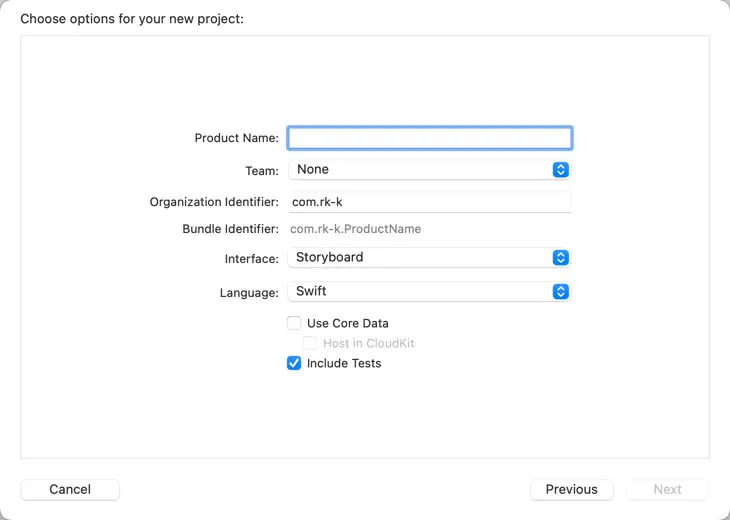
However, The Life Cycle option was removed from the project option dialog in Xcode 13, if you select the SwiftUI from the Interface option, Xcode generate the code which is using SwiftUI App life cycle.
SwiftUI App can’t present the enough features on the macOS 12 Monterey. For example, we can’t create the following functions with only SwiftUI App Life cycle.
- The single window style application.
- Full customize the menu bar, it can only partially.
- The document application directly access to the file at any time.
I believe that the improvements for creating the macOS Apps will be done in the future, but at this time, it is a realistic that we create the application with AppKit App Delegate life cycle.
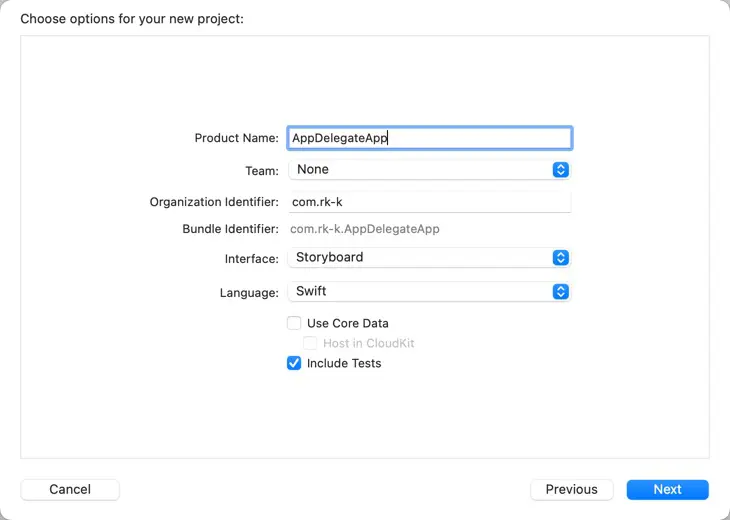
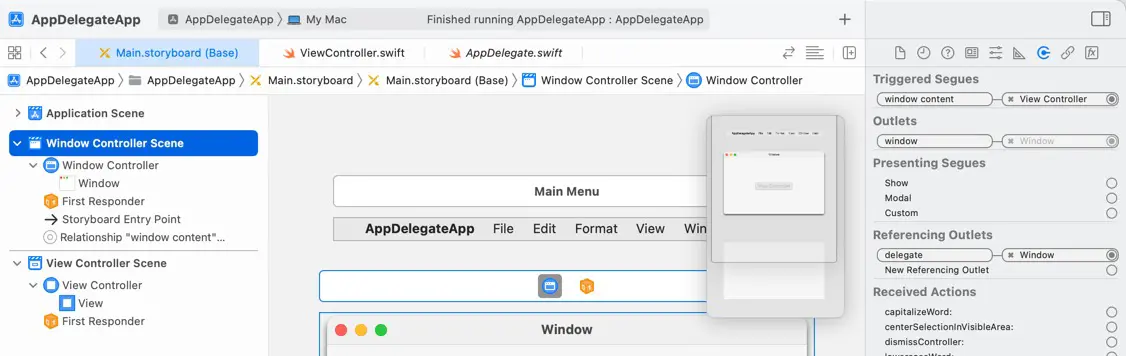
Create the project
Create the project. Set the Interface option to the Storyboard.
Put the SwiftUI
Put the SwiftUI view on ViewController. We can use NSHostingController class to do it. The NSHostingController is a view controller that can contains SwiftUI view as a subview.
The code of the ViewController is following.
import Cocoa
import SwiftUI

class ViewController: NSViewController {

    override func viewDidLoad() {
        super.viewDidLoad()
        view.translatesAutoresizingMaskIntoConstraints = false

        // Create the NSHostingController
        let controller = NSHostingController(rootView:
        Text("This is a SwiftUI View.")
            .frame(width: 200, height: 200, alignment: .center)
        )
        controller.view.translatesAutoresizingMaskIntoConstraints = false

        // Put the ViewController
        addChild(controller)
        view.addSubview(controller.view)

        // Configure the auto-layout to fit the width and the height to the ViewController.
        NSLayoutConstraint.activate([
            controller.view.leftAnchor.constraint(equalTo: view.leftAnchor),
            controller.view.topAnchor.constraint(equalTo: view.topAnchor),
            controller.view.widthAnchor.constraint(equalTo: view.widthAnchor),
            controller.view.heightAnchor.constraint(equalTo: view.heightAnchor)
        ])

    }

    override var representedObject: Any? {
        didSet {
        // Update the view, if already loaded.
        }
    }


}
Create the SwiftUI view
Pass the SwiftUI view to the rootView argument of the NSHostingController initializer. You can specify any view. In the sample code, we use Text but you will specify your own view in normal.
let controller = NSHostingController(rootView:
    Text("This is a SwiftUI View.")
        .frame(width: 200, height: 200, alignment: .center)
)
Put the NSHostingController
The NSHostingController class is an AppKit view controller which is presented by the SwiftUI framework.
As the NSHostingController is an inheritance of the NSViewController class, so you can put it as a sub view controller and a sub view as same as other AppKit view controllers.
addChild(controller)
view.addSubview(controller.view)
Configure the auto-layout
The NSHostingController need to be layout in AppKit rule, so we use the AppKit Auto Layout to fit the width and the height of the NSHostingController to of ViewController.
First, set the translateAutoresizingMaskIntoConstraints property to false.
view.translatesAutoresizingMaskIntoConstraints = falsecontroller.view.translatesAutoresizingMaskIntoConstraints = falseThen, configure the auto-layout.
NSLayoutConstraint.activate([
    controller.view.leftAnchor.constraint(equalTo: view.leftAnchor),
    controller.view.topAnchor.constraint(equalTo: view.topAnchor),
    controller.view.widthAnchor.constraint(equalTo: view.widthAnchor),
    controller.view.heightAnchor.constraint(equalTo: view.heightAnchor)
])
Running result
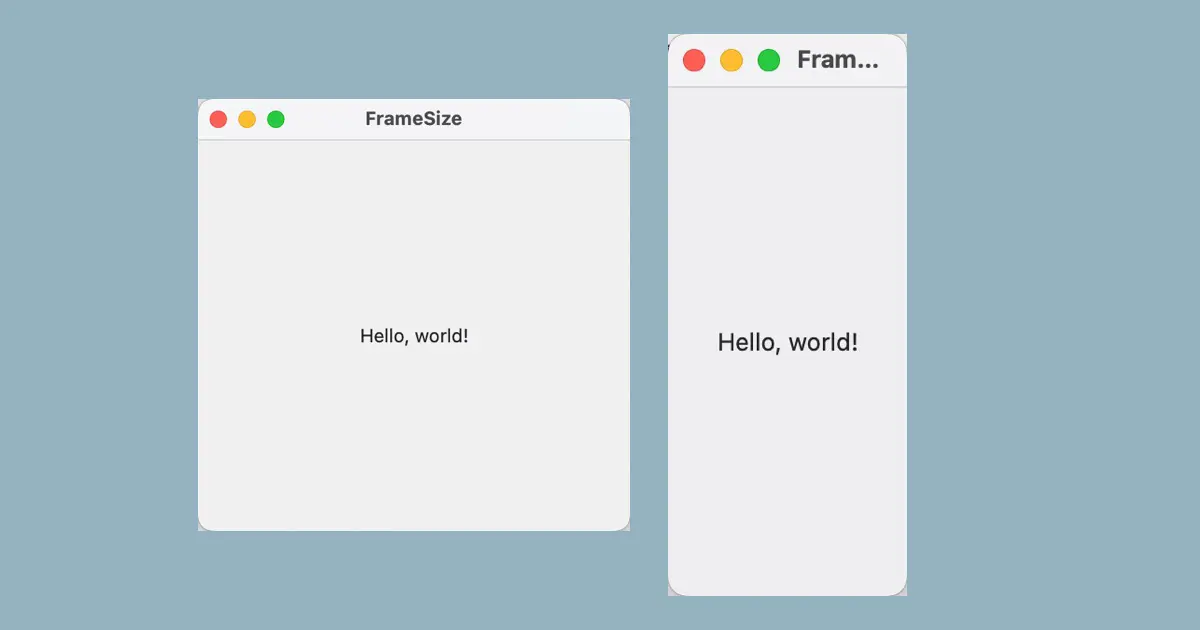
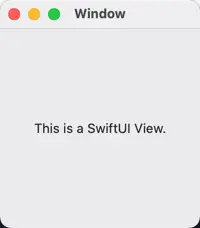
Run the sample code above, the window will be show as follows.
ウインドウのサイズ
The ViewController is set to window content segure.
If you configure the auto-layout as like the sample code, the window size will be following SwiftUI view.
For example, the following sample code will set the height of the ViewController to 200px and the window height will be accordance.
let controller = NSHostingController(rootView:
    Text("This is a SwiftUI View.")
        .frame(width: 200, height: 200, alignment: .center)
)
In macOS Monterey, the width will be 200px and the height will be 228px , it is not allowed that resize it. Change the code to the following.
let controller = NSHostingController(rootView:
Text("This is a SwiftUI View.")
    .frame(minWidth: 100, idealWidth: 200, maxWidth: 300,
           minHeight: 100, idealHeight: 200, maxHeight: 500, alignment: .center)
)
Then, the window will be resizable, the minimum size will be 100px * 100px and the maximum size will be 300px * 500px.
For more information about the changing window size in SwiftUI, see following article.